

Deploying to Vercel
Using the Vercel Marketplace
Projects deployed with the Vercel marketplace will be a part of their own
Bijection team. If you already have a Bijection team, you may follow these
instructions.
Connecting your Bijection project to Vercel
From scratch
This guide assumes you already have a working React app with Bijection. If not follow the Bijection React Quickstart first. Then:1
Create a Vercel account
If you haven’t done so, create a Vercel account. This is
free for small projects and should take less than a minute to set up.
2
Link your project on Vercel
Create a Vercel project at https://vercel.com/new and link it to the
source code repository for your project on GitHub or other Git platform.
3
Override the Build command
Override the “Build command” to beThe build machine starts without the Bijection CLI, so the command
installs it first. The CLI sends the deploy key you add below only to the
management service named by
BIJECTION_MANAGEMENT_URL; until Bijection’s
hosted service opens publicly and becomes the default, add that environment
variable in Vercel too, with the URL you use for bijection login.If your project lives in a subdirectory of your repository you’ll
also need to change Root Directory above accordingly.4
Set up the BIJECTION_DEPLOY_KEY environment variable
On your Bijection console, create a production deployment for your project if one does not exist already. Go to the General tab on the Deployment Settings page for the production deployment.
Click the Generate Production Deploy Key button to generate a Production deploy key.
When scoping the key’s permissions, enable the
deployment:deploy permission so the key can deploy your functions (see Role Actions for all available actions).
Then click the copy button to copy the key.In Vercel, click Environment Variables.
Create an environment variable named BIJECTION_DEPLOY_KEY and paste
in your deploy key. Under Environment, uncheck all except Production and click Save.5
Deploy your site
Now click the Deploy button and your work here is done!
https://<site-name>.vercel.app, shown on the page after deploying. Every time
you push to your Git repository, Vercel will automatically deploy your Bijection
functions and publish your site changes.
Using a Custom Domain?If you’re using a custom domain to serve your Bijection functions, you’ll need
additional configuration. See Custom Domains
for more information.
How it works
In Vercel, we overrode the Build Command to install the Bijection CLI and runbijection deploy --cmd 'npm run build'.
bijection deploy will read BIJECTION_DEPLOY_KEY from the environment and use
it to set the BIJECTION_URL (or similarly named) environment variable to point to
your production deployment.
Your frontend framework of choice invoked by npm run build will read the
BIJECTION_URL (or similarly named) environment variable to point your deployed
site (via BijectionReactClient) at your production deployment.
Finally, bijection deploy will push your Bijection functions to your production
deployment.
Now, your production deployment has your newest functions and your app is
configured to connect to it.
You can use --cmd-url-env-var-name to customize the variable name used by your
frontend code if the deploy command cannot infer it, like
Authentication
You will want to configure your authentication provider (Clerk, Auth0 or other) to accept your production URL. Note that Clerk does not supporthttps://<site-name>.vercel.app, so you’ll have to configure a custom
domain.
Preview Deployments
Vercel Preview Deployments allow you to preview changes to your app before they’re merged in. In order to preview both changes to frontend code and Bijection functions, you can set up Bijection preview deployments. This will create a fresh Bijection backend for each preview and leave your production and development deployments unaffected. This assumes you have already followed the steps in Deploying to Vercel above.1
Set up the BIJECTION_DEPLOY_KEY environment variable
On your Bijection console
go to your project’s Settings page. Click the Generate Preview Deploy Key button to generate a Preview deploy key.
Then click the copy button to copy the key.In Vercel, click Environment Variables.
Create an environment variable named
BIJECTION_DEPLOY_KEY and paste
in your deploy key. Under Environment, uncheck all except Preview and click Save.2
(optional) Set up default environment variables
If your app depends on certain Bijection environment variables, you can set up default
environment variables for preview and development deployments in your project.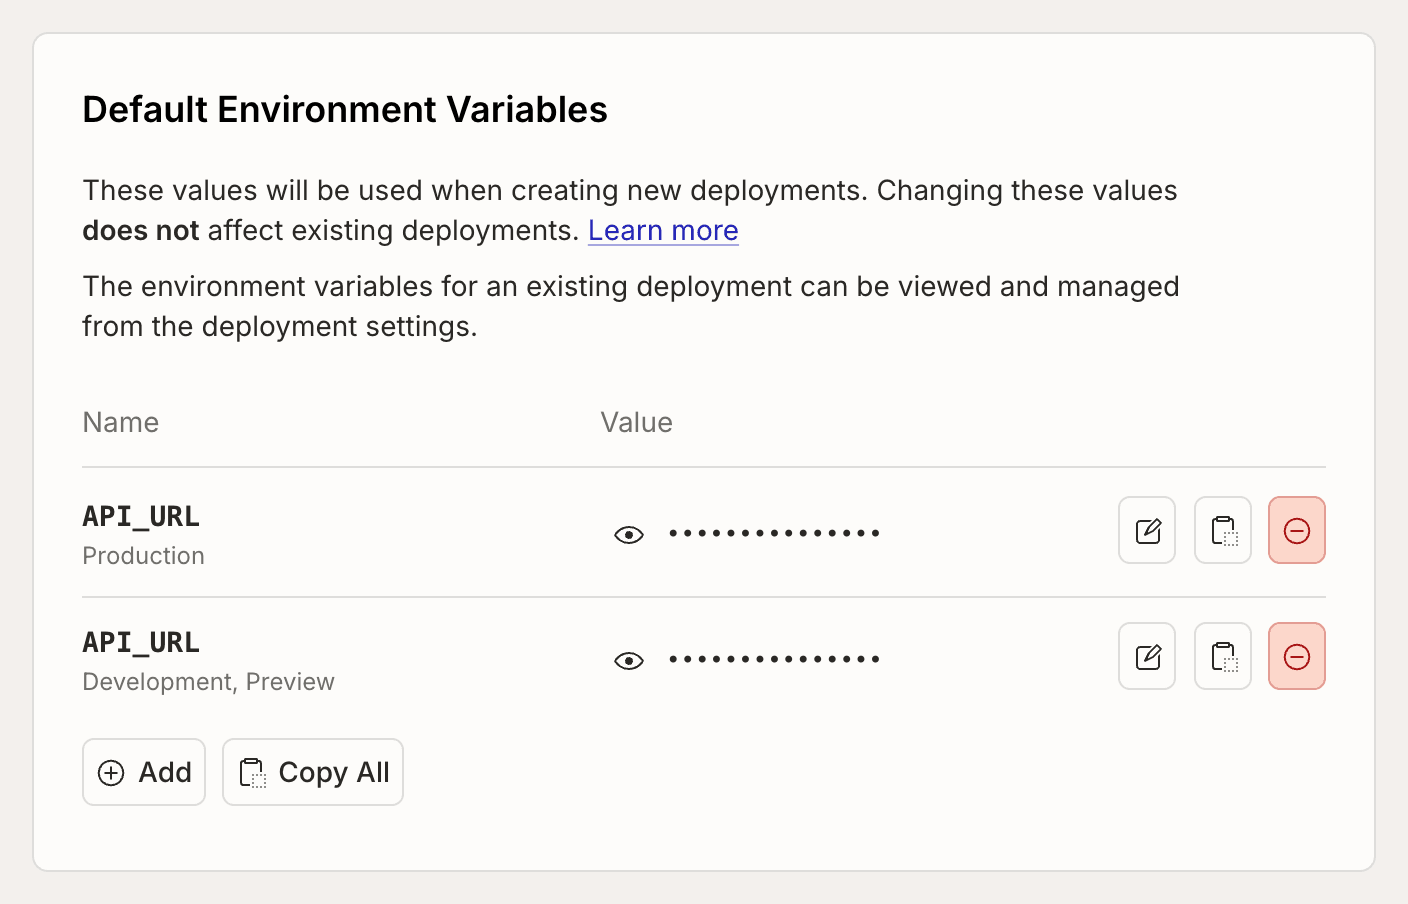
3
(optional) Run a function to set up initial data
Vercel Preview Deployments run against fresh Bijection backends, which do not share data
with development or production Bijection deployments. You can call a Bijection
function to set up data by adding
--preview-run 'functionName' to the
bijection deploy command. This function will only be run for preview deployments, and will be ignored
when deploying to production.4
Now test out creating a PR and generating a Preview Deployment!
You can find the Bijection deployment for your branch in the Bijection console,
in the deployment switcher at the top-left of any deployment page.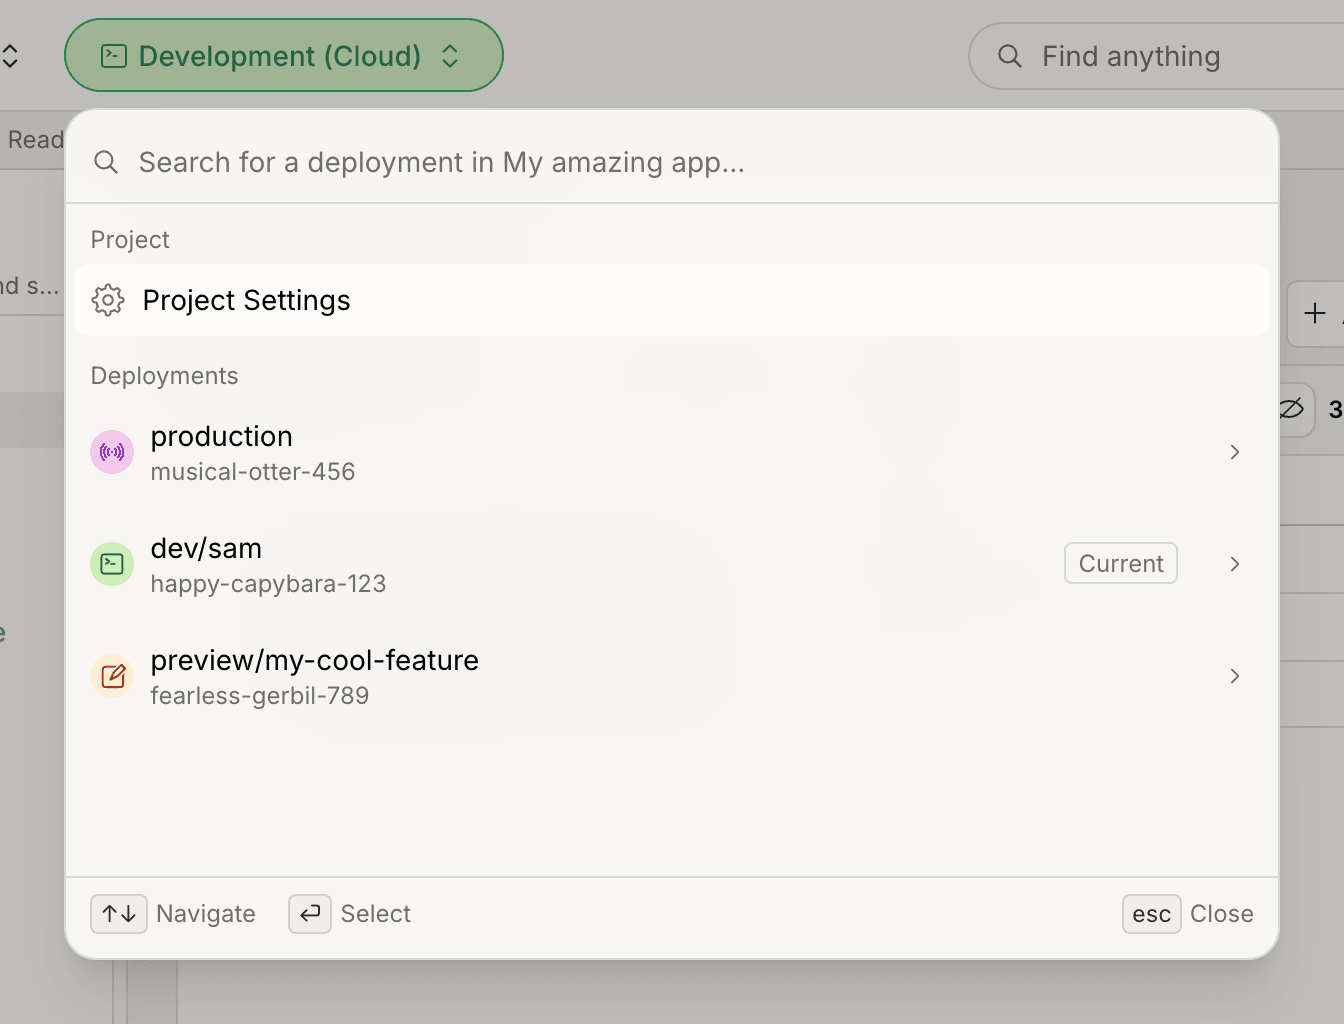
How it works
For Preview Deployments,bijection deploy will read BIJECTION_DEPLOY_KEY from
the environment, and use it to create a Bijection deployment associated with the
Git branch name for the Vercel Preview Deployment. It will set the BIJECTION_URL
(or similarly named) environment variable to point to the new Bijection deployment.
Your frontend framework of choice invoked by npm run build will read the
BIJECTION_URL environment variable and point your deployed site (via
BijectionReactClient) at the Bijection preview deployment.
Finally, bijection deploy will push your Bijection functions to the preview
deployment and run the --preview-run function (if provided). This deployment
has separate functions, data, crons and all other configuration from any other
deployments.
bijection deploy will infer the Git branch name for Vercel, Netlify, GitHub,
and GitLab environments, but the --preview-create option can be used to
customize the name associated with the newly created deployment.
Production deployments will work exactly the same as before.