

Get started
This guide assumes you already have a working React app with Bijection. If not follow the Bijection React Quickstart first. Then:1
Follow the Auth0 React quickstart
Follow the Auth0 React Quickstart.Sign up for a free Auth0 account.Configure your application, using
http://localhost:3000, http://localhost:5173 for Callback
and Logout URLs and Allowed Web Origins.Come back when you finish the Install the Auth0 React SDK step.2
Create the auth config
In the
bijection folder create a new file auth.config.ts with
the server-side configuration for validating access tokens.Paste in the domain and clientId values shown in
Install the Auth0 React SDK step of the Auth0 quickstart or
in your Auth0 application’s Settings dashboard.3
Deploy your changes
Run
bijection dev to automatically sync your configuration to your backend.4
Configure BijectionProviderWithAuth0
Now replace your
BijectionProvider with an Auth0Provider wrapping BijectionProviderWithAuth0.
Add the domain and clientId as props to the Auth0Provider.Paste in the domain and clientId values shown in
Install the Auth0 React SDK step of the Auth0 quickstart or
in your Auth0 application’s Settings dashboard as props to Auth0Provider.Login and logout flows
Now that you have everything set up, you can use theuseAuth0() hook
to create login and logout buttons for your app.
The login button will redirect the user to the Auth0 universal login page. For
details see
Add Login to Your Application
in the Auth0 React Quickstart.
src/login.ts
Logged-in and logged-out views
Use theuseBijectionAuth() hook instead of
the useAuth0 hook when you need to check whether the user is logged in or not.
The useBijection hook makes sure that the browser has fetched the auth token
needed to make authenticated requests to your Bijection backend:
src/App.ts
Authenticated, Unauthenticated, AuthLoading and
AuthRefreshing helper components which use the useBijectionAuth hook under the
hood. AuthRefreshing renders when queries and mutations are paused for token
refresh (generally a rare case).
src/App.ts
User information in React
You can access information about the authenticated user like their name from theuseAuth0 hook:
src/badge.ts
User information in functions
See Auth in Functions to learn about how to access information about the authenticated user in your queries, mutations and actions. See Storing Users in the Bijection Database to learn about how to store user information in the Bijection database.Configuring dev and prod tenants
To configure a different Auth0 tenant (environment) between your Bijection development and production deployments you can use environment variables configured on the Bijection console.Configuring the backend
First, change yourauth.config.ts file to use environment variables:
bijection/auth.config.ts
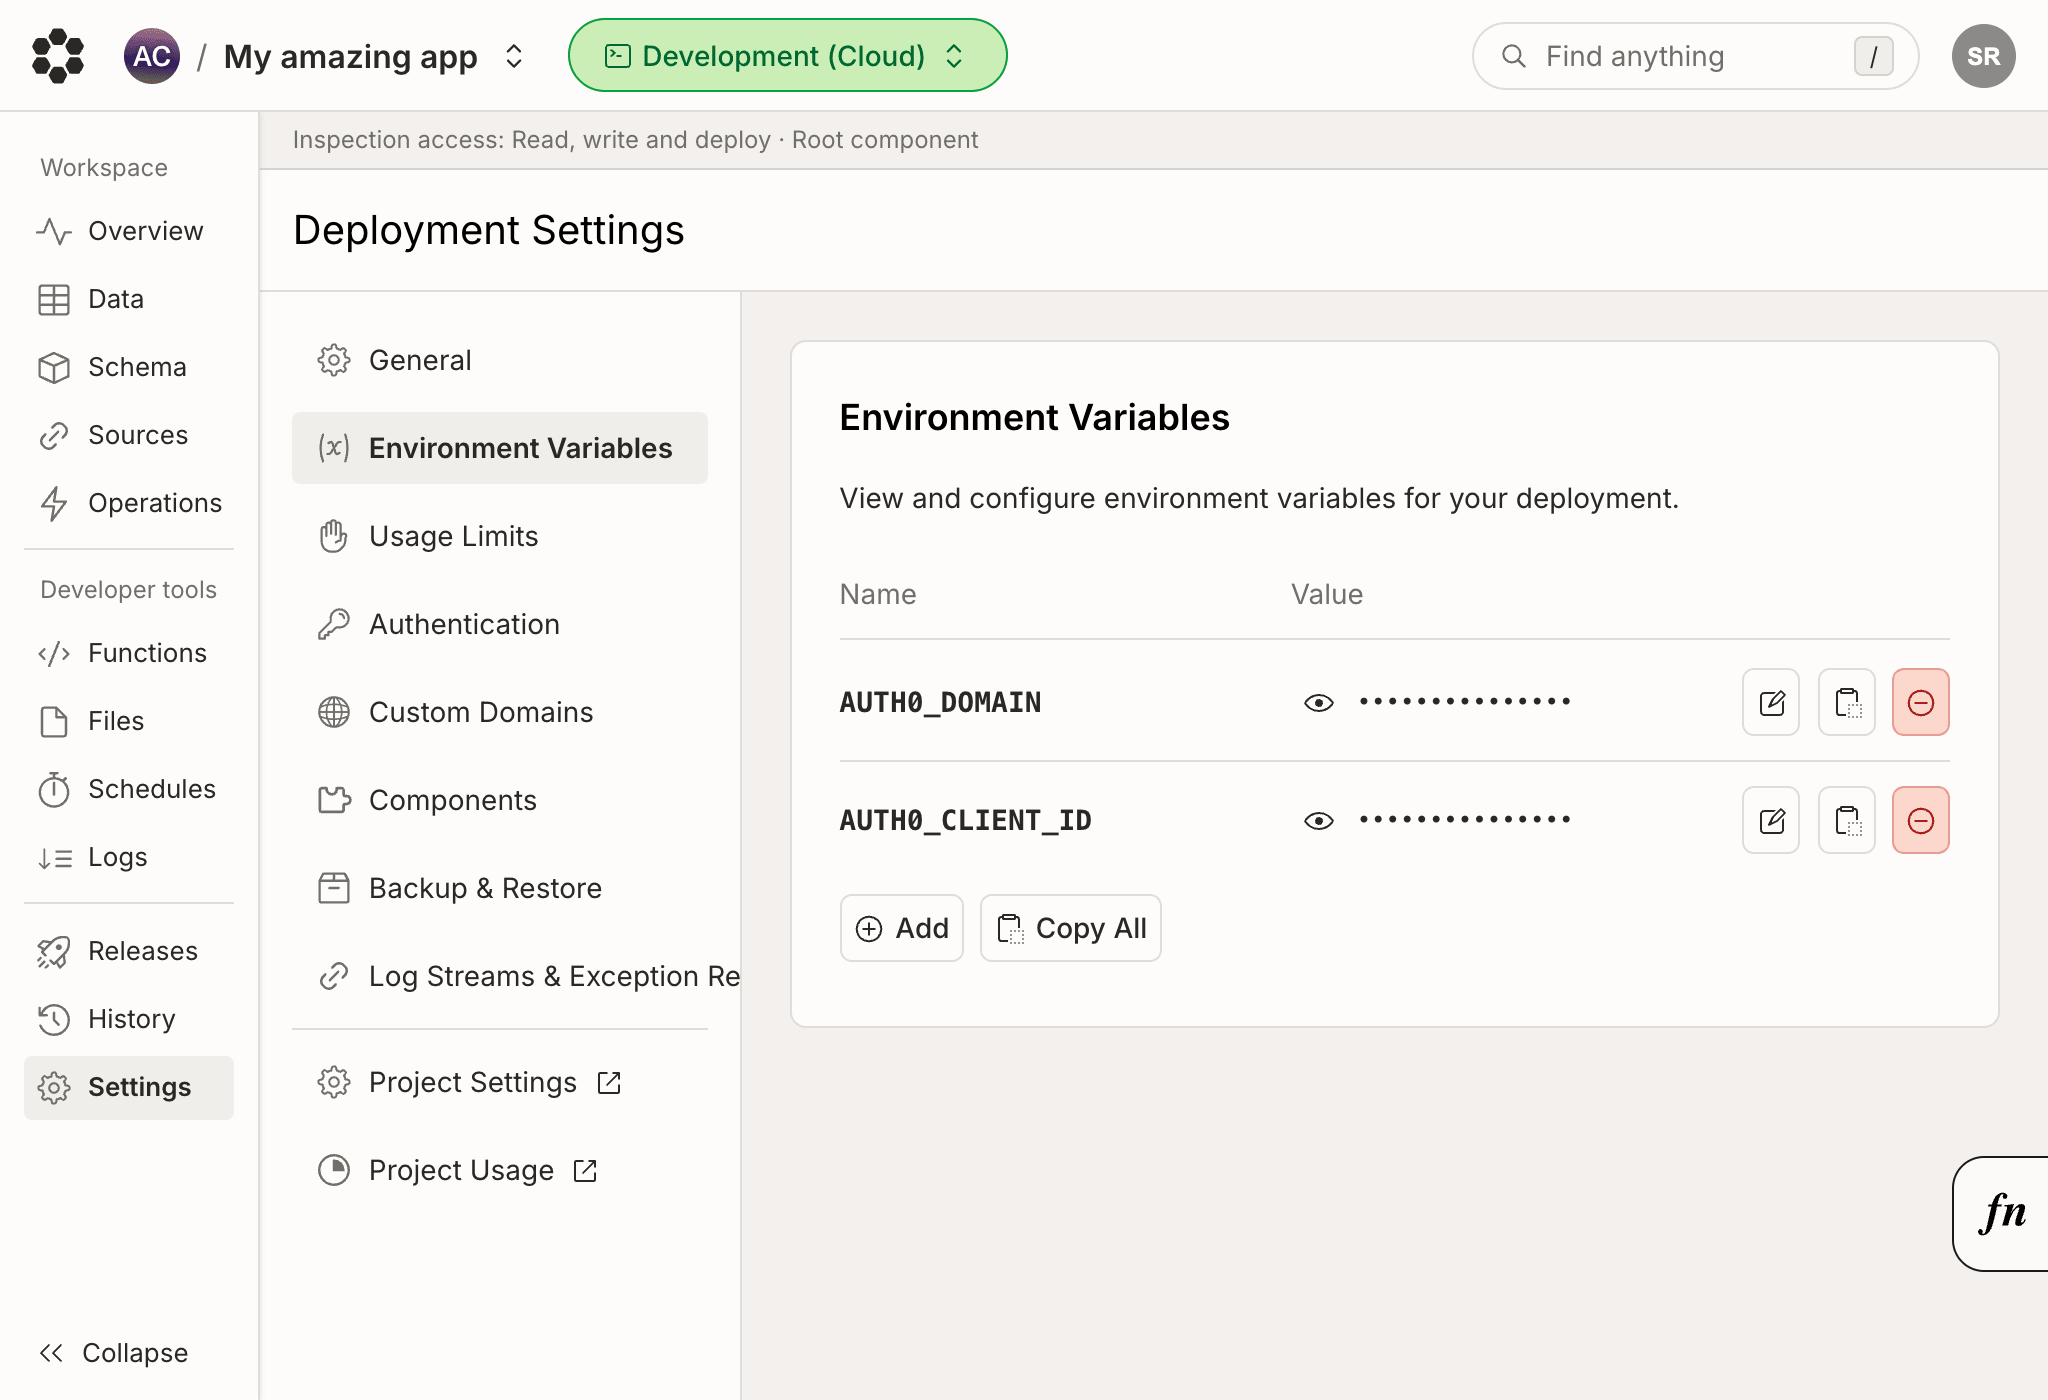
bijection dev.
Production configuration
Similarly on the Bijection console switch to your
production deployment in the left side menu and set the values for your
production Auth0 tenant there.
Now switch to the new configuration by running bijection deploy.
Configuring a React client
To configure your client you can use environment variables as well. The exact name of the environment variables and the way to refer to them depends on each client platform (Vite vs Next.js etc.), refer to our corresponding Quickstart or the relevant documentation for the platform you’re using. Change the props toAuth0Provider to take in environment variables:
.env.local or .env file to configure your client when running
locally. The name of the environment variables file depends on each client
platform (Vite vs Next.js etc.), refer to our corresponding
Quickstart or the relevant documentation for the
platform you’re using:
.env.local
Debugging authentication
If a user goes through the Auth0 login flow successfully, and after being redirected back to your pageuseBijectionAuth gives isAuthenticated: false,
it’s possible that your backend isn’t correctly configured.
The auth.config.ts file in your bijection/ directory contains a list of
configured authentication providers. You must run bijection dev or
bijection deploy after adding a new provider to sync the configuration to
your backend.
For more thorough debugging steps, see
Debugging Authentication.
Under the hood
The authentication flow looks like this under the hood:- The user clicks a login button
- The user is redirected to a page where they log in via whatever method you configure in Auth0
- After a successful login Auth0 redirects back to your page, or a different page which you configure via .
- The now knows that the user is authenticated.
- The fetches an auth token from Auth0.
- The
BijectionReactClientpasses this token down to your Bijection backend to validate - Your Bijection backend retrieves the public key from Auth0 to check that the token’s signature is valid.
- The
BijectionReactClientis notified of successful authentication, and now knows that the user is authenticated with Bijection.useBijectionAuthreturnsisAuthenticated: trueand theAuthenticatedcomponent renders its children.