

Single Sign-On is only available on Bijection Business and Enterprise.
Finding the settings
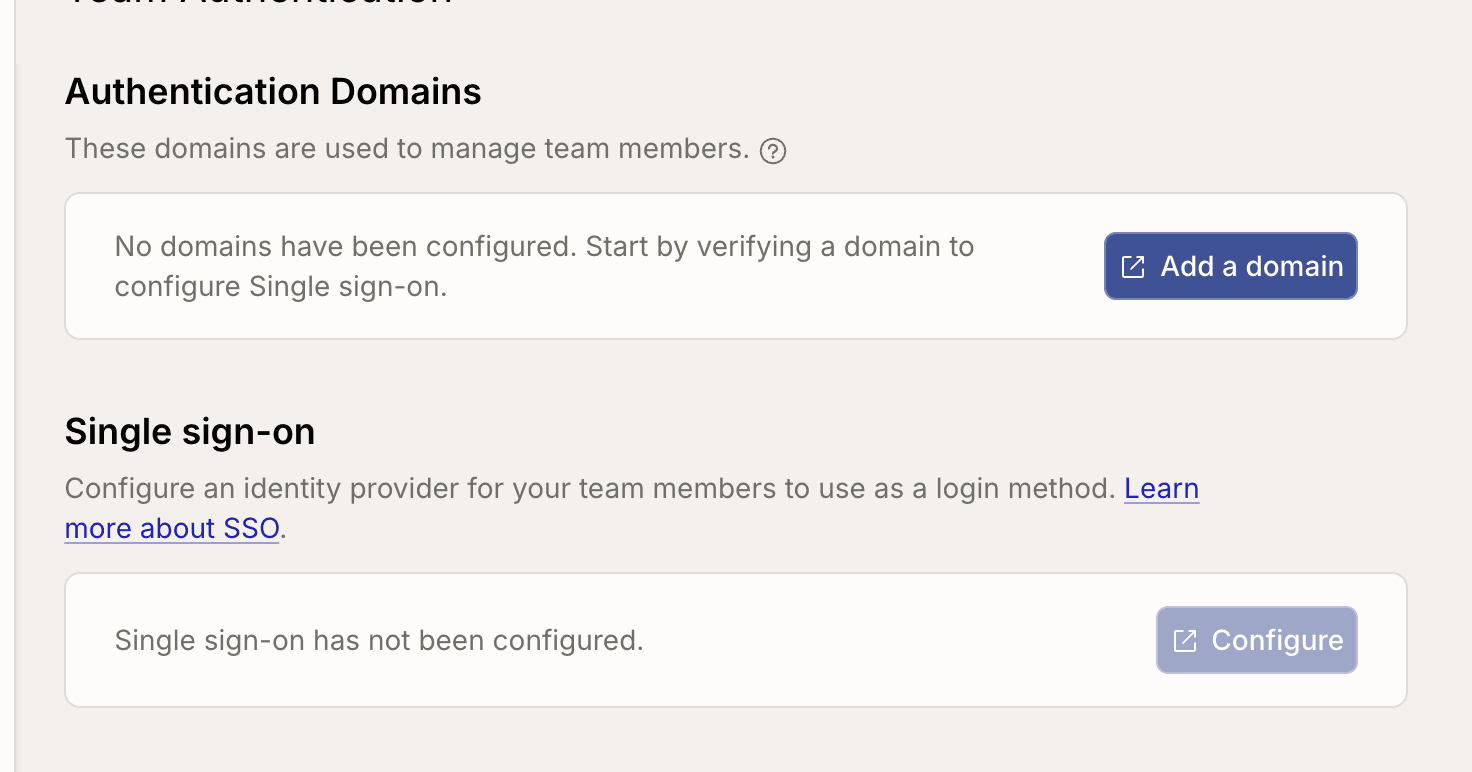
SSO is configured on the Team Authentication page, under Team Settings → Team Authentication. Two of its sections cover SSO:- Authentication Domains — the email domains your team owns. SSO only manages members whose account uses one of these domains.
- Single sign-on — your identity provider connection.
Setting up SSO
1. Verify a domain
Each connection is attached to a domain you own, so start by verifying yours. Select Add a domain in the Authentication Domains section. Bijection opens a separate configuration page in a new tab, where you enter the domain and complete the DNS verification. Verification is not instant. A domain shows as Pending until your DNS record is picked up, and Verified once it is. You can re-open Add a domain at any time to check on a pending domain.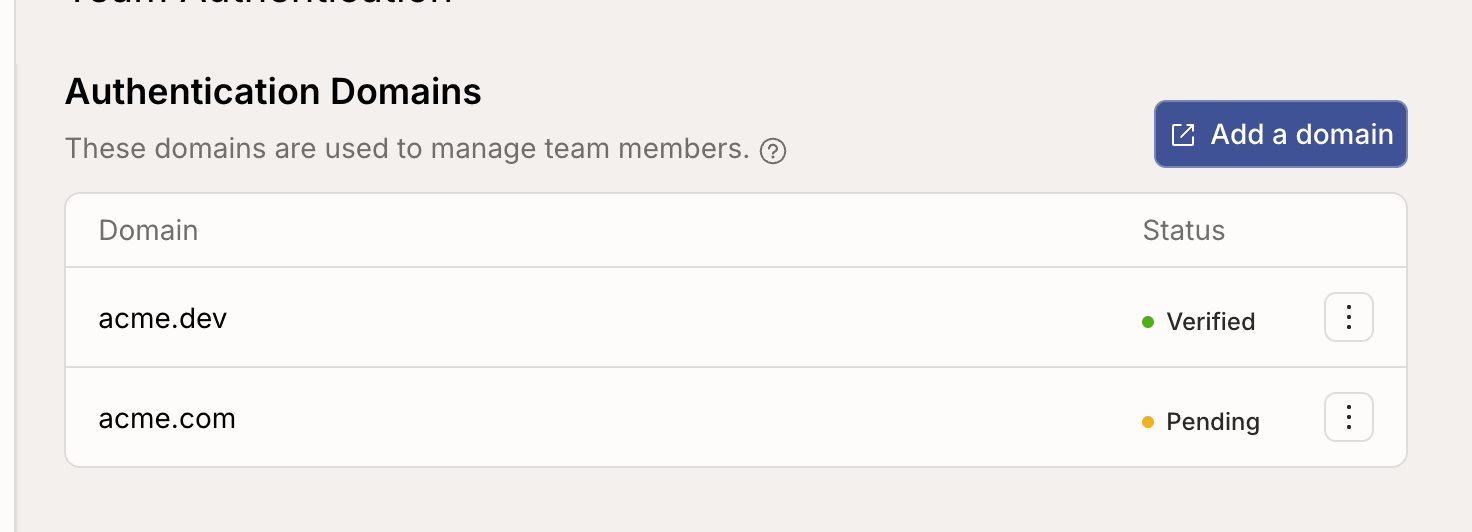
2. Connect your identity provider
Once a domain is verified, select Configure in the Single sign-on section. Bijection opens a separate configuration page in a new tab, where you pick your identity provider and follow its setup instructions.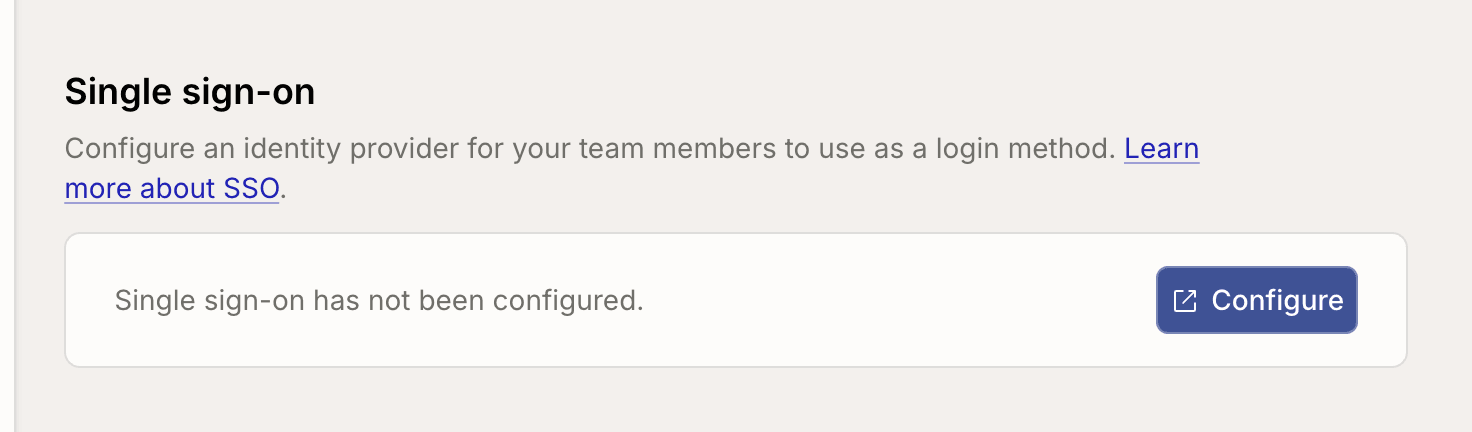
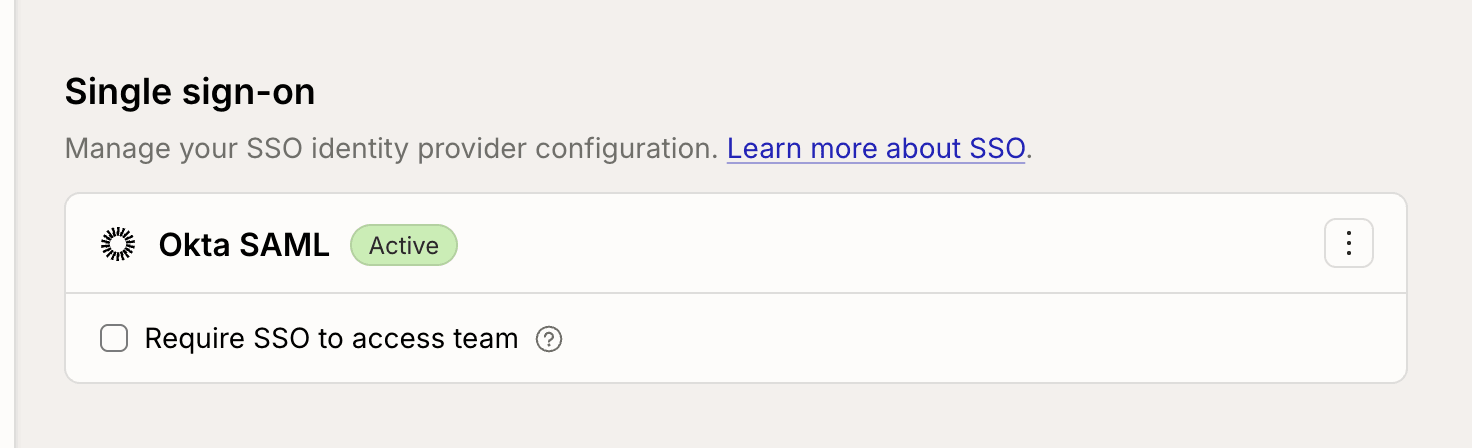
- Active — team members can log in through this identity provider.
- Inactive — the connection exists but isn’t finished. Re-open it with ⋮ → Manage to complete the remaining steps with your identity provider.
3. Test the connection
Log out and log back in through your identity provider to confirm the connection works before requiring SSO for the whole team.Managing the connection
Use the ⋮ menu next to the connection to manage it: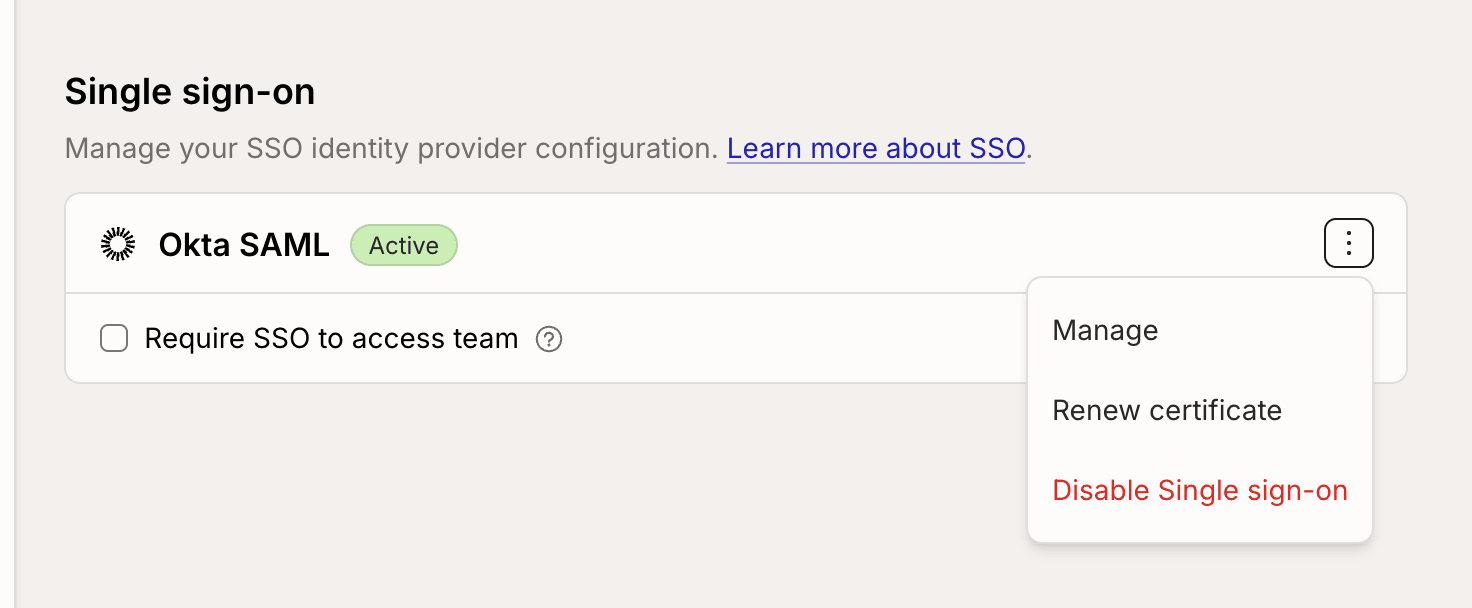
- ⋮ → Manage re-opens the configuration page for this connection.
- ⋮ → Renew certificate walks you through replacing a signing certificate before it expires.
- ⋮ → Disable Single sign-on removes the connection. Team members can no longer log in through your identity provider. Your verified domains are unaffected.
Require Single Sign-On
Once a connection is active, you can require SSO for the team by checking Require SSO to access team. The console asks you to confirm before saving.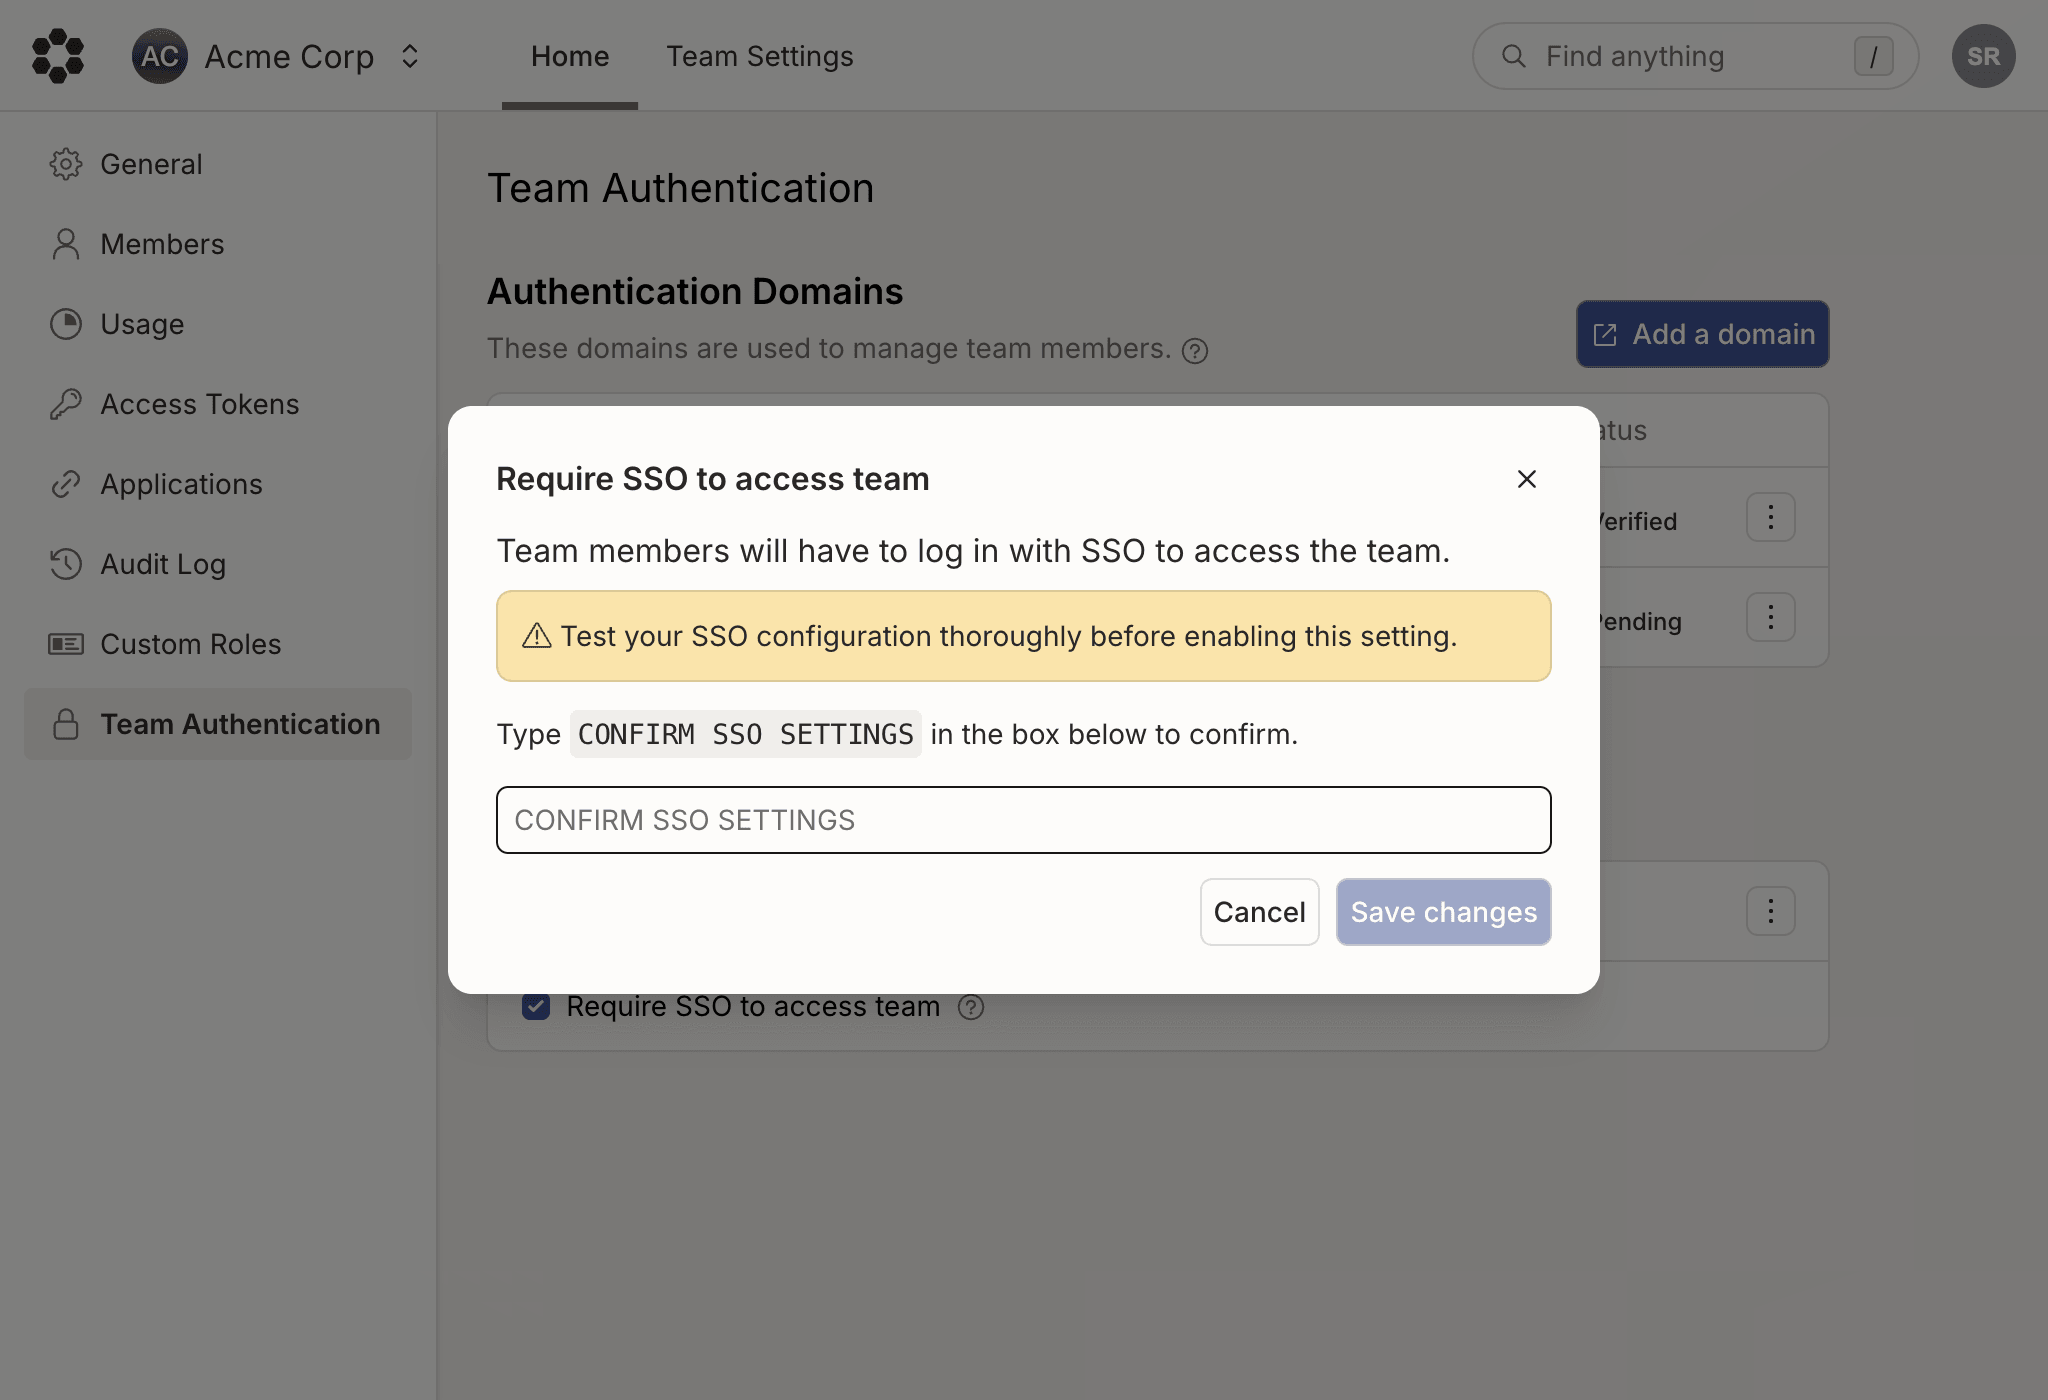
- All team members must authenticate through your identity provider to access this team. This applies to both the console and the CLI.
- Members cannot use other authentication methods to access the team.
Customizing your domain policy
By default, all Bijection users that sign in with your verified SSO domain will be required to log in with SSO to use Bijection if they are signing in with an email address that uses your verified domain. To configure a custom domain policy, such as allowing users to login with other sign-on methods, contact Bijection support. These settings will be available for self-serve configuration in the future.Who can configure SSO
Team Admins can do everything on this page. Team Developers can see the configuration but not change it. With custom roles you can grant the individual role actions:sso:view, sso:enable,
sso:update, sso:disable, and the team:domain:* actions that cover the
Authentication Domains section.